
2 Part Mold Making Part 2!
Hello again, the silicone from last time has cured so we're going to move on to the next step.
First off, the mold is flipped over to reveal the clay support from last time.
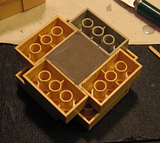
It's carefully peeled off the mold as we want to try and get as much of it as possible with this first removal. Often I'll remove one of the blocks in the wall to get a good starting position.
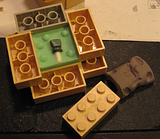
After it's been removed, look over the mold for any bubbles that had formed against the piece. Be careful to NOT remove the piece from the mold, it needs to stay sealed to the silicone at this point. If there are any obvious bubbles, decide if they're worth redoing the side of the mold. Also while doing this, use a cheap toothpick (the ones that are flat and have a fat end and a skinny end) to gently scrape up any residual clay left behind. I'd probably get better results with the clay if I'd use new (and proper) clay every time, but it's what I have, and it works well enough. A layer of blocks is added to the bottom to form a deeper space to fill with silicone.
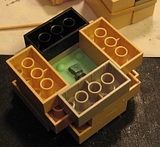
Now we need to prevent the silicone we're going to be adding from bonding to the silicone that already exists or we'll end up with a block of silicone with our part trapped inside. I've tried a number of things to do the job. This includes a variety of 'official' mold releases, vasaline, vegtable oil, etc. But what I've found works as well as the official releases and is orders of magnitude cheaper... is Elmer's white school glue. Yes, the cheap stuff you can pick up for a nickel a tube right before school starts each year. Take the school glue and use or transfer to another container about half of it. Then refill the bottle with distilled water (normal water works too, but adds other contaminants which may or may not help) and a drop of liquid detergent. Either dishwashing or clothing detergent work, I use whichever we happen to have for our laundry/dishes at the time.

I have an old brush I have dedicated to being used with waterbased glues. I use it for making bases and terrain as well, so it's not only for mold making. But a brush should be dedicated as the glue changes how the bristles on the brush react making it hard to paint with it later. Anyway, put a few drops of the 1-1 glue we made someplace and then brush it over the silicone rubber surface of the mold. Try to avoid getting it on the model itself, but make sure the rubber by the model is covered. It doesn't take a thick layer, just some. I've found mine tends to want to puddle a bit while it's trying to dry. Just use the brush (damp with water or 1-1 glue still) to pull the wet glue back out to the higher points of the mold.
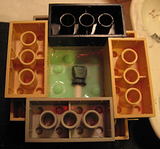
After this glue has dried. We repeat the procedure last time and hmm... aparently I didn't take a lot of pictures of that stage, so I'll do a quick synopsis with more pictures.
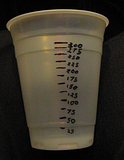
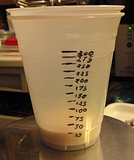
I didn't get a picture of it, but first I weigh the inner cup that I'll be putting the silicone in. This gives me the offset I need for calculating how much catalyst I need. I use a 2 cup measuring system. It's made by taking 2 cups and sticking one inside the other. Water is then added in known incremements to the inner container, and the outer is marked for each incremement. This way I can replace the inner cup and not have to relabel my cup every time. I can't remember where I learned of this idea, but it's not originally mine. After measuring out volume of silicone I want, I remove the marked cup (as I didn't weigh it too,) and weigh the silicone.
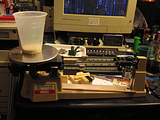
After calculating the needed amount of catalyst ({silicone+cup} - {cup}) * 0.03. I add the catalyst to it and mix.
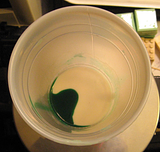
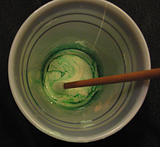
The pouring is identical to the before and is hard to take a picture of while doing it, so I don't have any pictures of that.
I'll probably do a post on casting with the mold sometime in the near future as well.


That two-cup system is a great idea. I'd never considered that myself. I typically eyeball this sort of thing, but having some exact measurements would surely help the quality of my end product.
ReplyDeleteThanks a bunches.