2010-02-22

Female Fire Warrior Torso progress


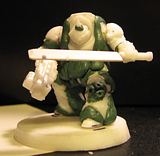
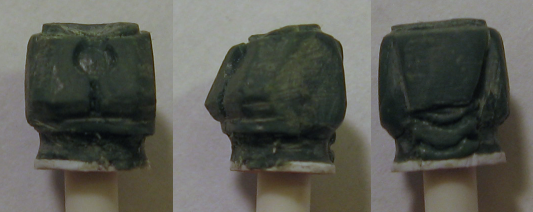
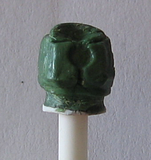
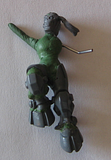
Sense my last update, I've ground down the stomach area all around, slimming her a lot and added the little flange things on the sides of the armour. This step was a lot easier then I thought it'd be. I decided I really didn't like the first run of the articulated panels on the back of the 'soft' area, so removed it before the stomach slimming. Afterward, I added them back in. I really like how the back one came out, even if it did end up crooked. >.<

I neglected to remember to put the lines in the front articulated section, so I'll try carving them into it. Failing that I'll pull it off and try again.

Overall I think it's coming along nicely. Hopefully I'll find a place to do some base casting to finish up my first set of fire warriors, they're getting antsy for their new bases.

2010-02-18

Firewarrior Painting and Bases


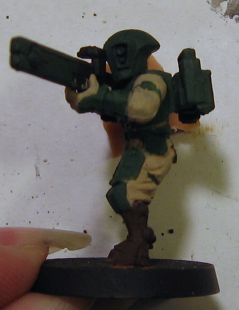
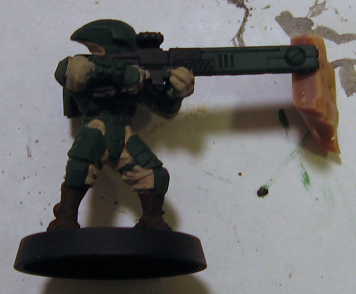
Sorry for not posting as often as I probably should. I've been painting Fire Warriors! I've finally decided on my scheme as can be seen above. Yes, I'm aware his backpack is on upside down, stupid used model. I have 9 to about that step, they still need to cleanup, shading, and highlighting. The base colors are Anita's Hunter Green (11040) for the main armour, Apple Barrel Country Tan (20778) for the soft suit, Apple Barrel Burnt Umber (20512) for the boots, and black for the back of the rifle. I'm planning on using a silver for the little sphere things on the rifle, and either bright red or bright purple for the lenses.

Photobucket
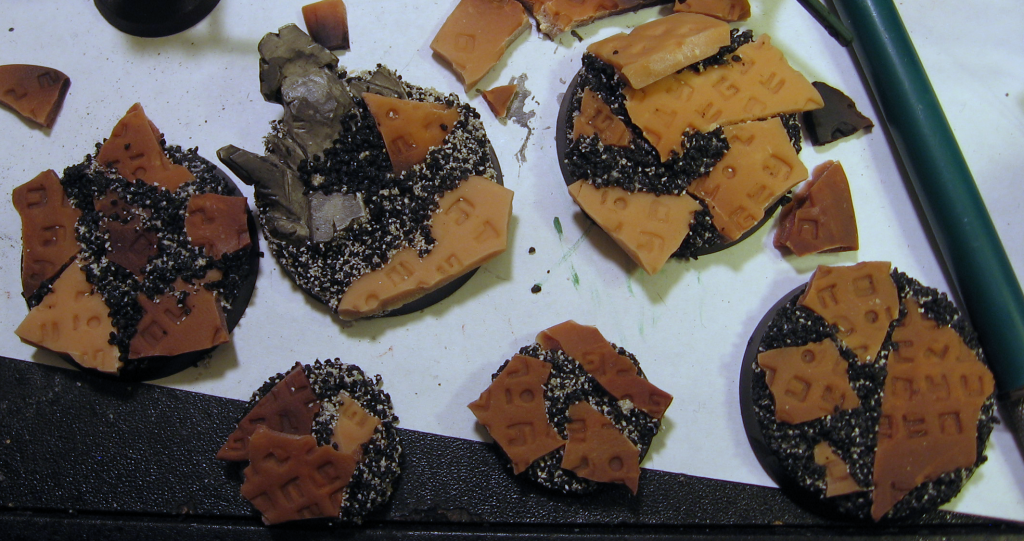
Also, I've started working on bases for them following in the footsteps of a friend. It involves taking a piece of Super Sculpey (any clay that becomes firm works,) and rolling it into a sheet. Then using the stamps I made earlier, I stamp tau symbols into the clay (any pattern works, I chose to just line them up in rows). Then after curing/letting dry/etc the clay, I smash it into fragments. These fragments are then glued to bases along with other standard flocks. The ones in the picture are 25mm and 40mm bases. I'm planning on making a few more 25mm ones and casting the lot of 'em. (Well, maybe not the one using a piece from the Chaos Terminator Lord kit.)


Lastly, it's not much of an update, but I've decided the O'larren model I've been working on is just the pilot, so I've thrown together a pistol for her:
WIP04
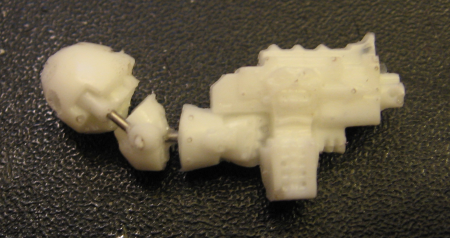
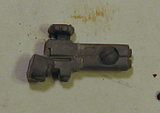
The pistol on the Firewarrior with the sniper drones just looks too weedy for me. So I've taken one of the many spare rifles from the FW sprue and cut one down to be her pistol.

2010-02-11

Nurgle Terminator

This isn't actually a new project, I've been working on it off and on sense around August 2009, but I noticed it sitting there and thought I'd post about it. I don't play Chaos myself, but my gaming group was discussing ideas a long time ago and our resident minion of Nurgle wanted themed terminators. After much batting of ideas he decided that the best description of what he wanted is to "Take a terminator and inject him with cheese till it's oozing out of everything."

I thought it was an interesting idea, but wasn't intrigued enough to even consider actually trying it. But I was bored one day, saw the pile of extra termi parts from a friend and for some odd reason the description popped into my head again. I sat down, spread out the parts I had on my desk, and took stock. I had enough to assemble a terminator, though the parts were a mix between the Chaos Terminator Lord and either a chaos terminator or a regular terminator, not sure which.

Here's how he looks at the moment. Or not, apparently my most recent pic is between adding the shoulder pads and filling in around them with greensuff >.<

He's still waiting on fine details and some minor touch up. And a real base. There are some additional pictures of this stage at the end of this post.

Anyway, to start I took the termi lord legs and carved out the feet so I could reposition him, sadly the feet were mangled coming out so I tossed them in favor of the feet from the standard termi. the crotch and upper legs are also from the same standard termi as the feet. To give the impressing of cheese oozing out of the joints, I carefully seperated the front/back of each part of the legs and glued a wedge shaped piece of plasticard between them to maintain the spacing I wanted.
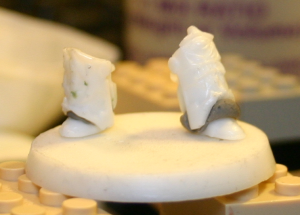
Photobucket
This is actually part of the initial posing of the feet and shins.
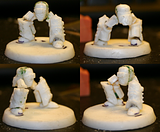
Photobucket
Here the leg's pose is defined and wired together. Paperclips are your friend.

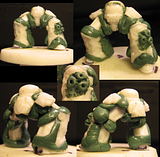
After choosing the pose for the legs and getting them happily in place, I bulked up the cracks with greenstuff teardrops, I did general Google searches on topics related to fat, fat people, rolls of fat, etc to get a feel for how excess flesh hung. And reached this:
Photobucket

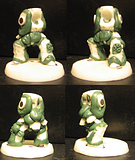
The torso was a bit different as I split it in a number of places regluing the side panels away from the lower torso to allow more fat to seep through.
Photobucket
Yes, those are magnets in his arm sockets, I'll probably remove them as it makes it hard to get the greenstuff to cure in the right place for the rolls of flesh between the arm bits and the body proper.

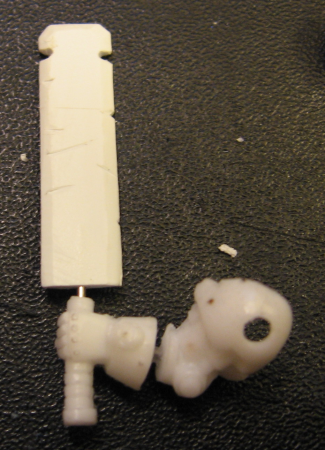
Once i was generally happy with the shape of the torso I moved on to the arms. I spent a lot of time trying to decide which arm bits to use. I ended up using parts from a couple, but equipping him with what is apparently 'standard' equipment. The sword blade is made from plasticard sanded and x-acto knifed down into shape. I chose to mimic the Daemon Prince of Nurgle from the GW site (Chaos Marines -> HQ section).
PhotobucketPhotobucket

With the arms attached:
Photobucket

Most recently (December?) I added the shoulder pads and finished bulking out the mass there, though as I mentioned above, I seem to have taken the picture between adding the shoulder pads and bulking them up as they're not bulked up in the picture, which is odd as it was all done as the same step in my mind. Also, for those curious, I took his picture with a terminator from the Black Reach set:
Photobucket
Photobucket
He looks kinda funny without the extra rolls around the shoulder pads. I'll have to take a new picture and post that at some point.

Eventually, I'll add many many pustules and oozing sores to it. Probably.
2010-02-10

Tau character stamps & FW wip

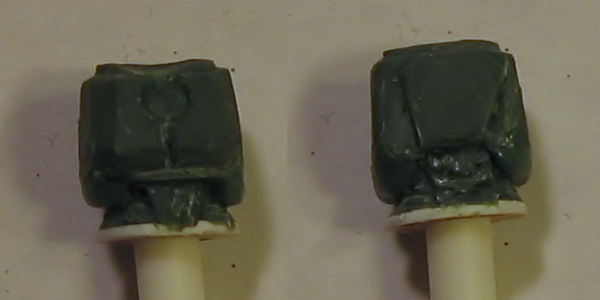
Well, I haven't made much progress on the FW torso, however, I did try to sharpen up the edges and add some of the armour plates on the 'soft' armour front and back... the front didn't work so well, so I pulled it off again. the back needs cleanup, but I'm gonna do that after it's cured some.


I tried a couple different angles to see if that helps show it off.


Also, mimicking an idea a friend of mine did, I've started building tau character stamps.

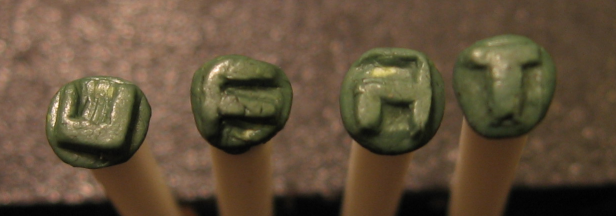
If you can't tell, they're supposed to be U, 7, 5, and T. Why those particular characters? No idea honestly, they're the ones that came to me when I started work. They'll be used to build the bases my army is going to stand on. (Which is the same thing my friend used his for.) I'll probably sharpen the edges of the characters up with a file and x-acto knife after they're cured.

their use is pretty simple, you get some soft clay, greenstuff, putty, etc and stamp a phrase, quote, or random string of characters into it, let it dry/cure/bake/whatever, then break it into debris to use on a base. It can be left in larger chunks (or whole) for larger bases and/or other terrain.

2010-02-05

Female Fire Warrior torso first sculpt draft

Sorry for the lack of updates, medical issues at home have taken priority. However, earlier today I was able to work on some miniatures. I've gotten the first prototype of the female torso sculpted. It's hard to get smooth and sharp edges done in greenstuff. I tried letting it dry and then grind it down, but that wasn't working so well. I had to re-sculpt it back up again. >.> Maybe I should do it by hand instead of using a power tool ^.~ Anyway, here's how the first trial sculpt looks.
FW-FTorso-wip01
Click on the thumbnail for a larger image.

I poked a bit at the O'larron WIP. Though I think I'm going to pull the head off again and sculpt a smaller one as the 'stock' ones just look huge to me. The arm didn't come out so well either. And as usual, I'm still not sure if this particular model is going to count as a pilot or a 'full suit'.
WIP03
Click on the thumbnail for a larger image.