2010-08-29

Modular Starship Tiles - Progress

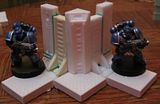
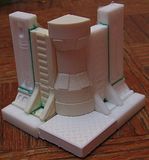
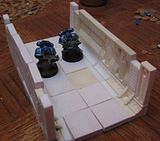
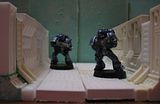
I've been busy casting from my molds, so I have 3 modules in a playable state, they still need the outside tiles on the walls (mainly for support and so i don't have to look at the scraped plaster side of the tiles...) and a base of some sort.

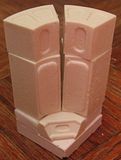
I've found that mixing in a few drops of black paint to the plaster while I'm mixing it gives the tiles a gray tint which should help to disguise any chips the tiles end up earning in the course of playtime.  My test batch was was too dark (the one really dark gray piece in the corner tile above), and the second was just a hair too pale (the access hatch in the corner above).  The specific ratio I use isn't of much use to anyone else as it's 8 drops paint, to enough water to fill the cup to the 3rd from bottom ridge, with enough hydrocal that it stops having water floating on top.  Which basically fills the cup with plaster.
PhotobucketPhotobucket
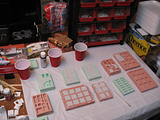
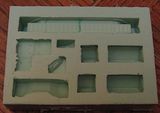
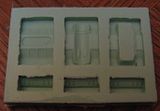
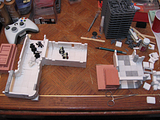
The three play-able modules beside one busy drying.  The figures are more a time waster while I'm waiting for plaster to cure and modules under assembly to dry.  I've found I dislike the 2 molds that have just the one piece of the wall in them (of which I'm currently using to hold the plastic sheet on the table down...) due to them requiring a lot more sanding then I expected.  The molds aren't all filled as I was lazy for this one and didn't mix a second cup worth of plaster to finish filling them up (and I was helping family use my cutter to make some stencils for some girl scout project of some sort).  The black box with red drawers in the one image is where the fully dry pieces go for storage until I need them for the tile(s) I'm currently assembling. 

Overall, the pieces take an hour to cure enough to de-mold them then about 24 hours drying time before they're ready to be glued together.  So they live on a tray where I slide them down as molds cure and pieces dry.  I don't cast nearly as many as I could be in a day, but I have been casting about a tile and a half to two tiles worth of pieces a day, which should give me enough parts to build my minimal 3' x 3' table in just over 2 weeks.  Maybe I should try stepping up production speeds. >.<

Photobucket
There are about one and a half molds worth of parts on this tray busy drying.

2010-08-18

Modular Starship Tiles - More Molds

I did some work on the modular starship over the last couple days, including production of 3 more molds. I should start Hydrocal casting of the molds I have next time I want to work on this project and should have a number of actual pieces assembled.


For this step, I made molds for the actual corners of the corner tiles. Above you can see a mock up made from pieces I had lying around as well as the pieces I actually cast the mold from. I threw some ultra wombles in for scale purposes.

Photobucket
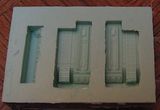
The first of the newest molds, this one is for the both inner corners and customized straights. The somewhat complicated end 'caps' for the pieces were assembled and then cast so they'll be single pieces and less prone to joint breakage.

Photobucket Photobucket
The above mold used along with the basic decking pieces. The second image is using the pieces cast from the extra space on the outer corner, shown next.

Photobucket
The outer corner actually gave me a tonne of issues as apparently Hirst wasn't expecting me to use some of the blocks the way I did... in any case, I finally worked out something that looks reasonably good. This mold also has the upper part of the door frame on it (the really long piece along the top edge of the mold). that will hold the large bulkhead doors in place. I had a bulkhead door mostly ready for casting a while back but it's disappeared and I haven't been willing to fight with a new one as of yet.

Photobucket
Just the outer corner pieces. i need to clean up and cast from the molds so i can glue one together for the pictures instead of just piling the parts together.

Photobucket
This is just a cast of the wall panels and the bottom edge trim again. I made it as I need so many more of them then any other piece that came with them, I recast those parts.

Photobucket Photobucket
Last some physical mockups of a straight section with some ultra wombles for scale. Final pieces will be mounted on something (probably 1/4" cork, but not positive) and will actually have the second 1/4" walls on the outside for structural support.

2010-08-10

Obliterator Cult progress


Well, I've worked out some designs for the obliterators. Above is one of many doodles on how they'd work. (It happens to be the one I like how looked the best.) I worked up some plans in Inkscape yesterday and I'll have my cutter produce them for me. The idea is the basic parts are cut from 1mm stock and layered together, the individual parts can them be put together, allowing for a full range of posing possibilities.


The red lines are 1mm x 1mm boxes. The outlines on the leftmost are the center, and the other two in each row are glued to either side of the center piece. I'll have to do a few test cuts to see if i like how they're coming out. Then on to real detailing of them.

I've yet to sort out the specifics of how they'll attach to the torsos... the piece in the upper right will likely change when the specifics are worked out.