2010-03-31

Female Fire Warrior Mold Making


Having neglected to take pictures at good times of the last few stages of the female firewarrior project, I had decided to not even mention them on the blog. I'm regretting that as now I have to play catch-up. I finished up the initial scuplt and made a mold of it. Which took three or four days (most of which was spent waiting on silicone to cure). Then a handful of casts. This is the stage where I learn a lot about my sculpt and usually where I do a lot of revising on it. The image at the start of this post is the mold of the first cast.

As usual, I decided I didn't like a large chunk of it and using one of the cast pieces as the base, chopped off large chunks of it and redid them. I tried getting some pictures of the new scuplt, but it kept ending up with greenstuff work on a white blob. The lighting was just unable to pick up any definition on the unpainted white resin.

So instead as I mention casting relatively regularly, so I figured people might be interested in my particular methods. I use 2 different methods depending on if I'm making a one part or two part mold. I'll plobably cover one part molds later, but as I need to cast the reworked FWF torso I'll start there. I build an interlocking brick box (I think these ones are megablocks) and then roll out a blob of clay.


I press the part in the clay, press the building brick box around the part, and lastly add some divets using the 'wrong' end of a paintbrush to work as keys. I would use some other method besides clay, but I'm poor and haven't gotten around to hunting down and pricing out some of the temporary mold materials.


The silicone I'm currently using is made by GE Silicones and is "RTV426" with catalyst "Beta 26". I got a 5 gallon pail of it as a sample from them a while back. I'm assuming they're used to dealing with people that use multiple gallons per cast as that's a LOT of silicone. Their datasheet suggests 3 different mixes, and I aim for the 100 parts silicone to 3 parts catalyst as I almost always add too much catalyst (bringing making the actual ratio about 100 to 4) which is halfway between 2 of the suggested ratios. I mix it up and drizzle a tiny dab onto the part which I carefully spread into the cracks of the model (sorry, forgot to snap a picture at this stage) before slowly filling the mold with the rest of the silicone. This helps us poor mold makers without vacuum chambers avoid bubbles.


It then sits for 24 hours to cure. And that's the first half of the 2 part mold. I'll cover the second part as i do it.
2010-03-19

Airbrush, Airbrush!


Well, it's been almost 2 weeks sense my last post >.< Sadly RL issues have been plaguing my life and I hadn't come up with anything to post about. However, just recently (yesterday, I believe) I got an airbrush! They are beyond nice. I test painted the basecoat for a devilfish earlier today. Including setting up the air compressor, fiddling with the airbrush before trying to actually paint, and clean up, I painted it to a nicer, smoother coat in a quarter to an eight the time. It's amazing.

The airbrush is a Badger 150, Dual Action, Internal Mix Airbrush. Which is nice as I have a number of Badger brand paint pots which fit perfectly onto the nozzle attachment thingie. I should probably find another regulator as the ones on the compressor are higher then the airbrush's recommended. The compressor fills the tank to 100 psi. the outlet regulator can be set between about 60 psi to something higher then 100. The airbrush manual on the other hand says that regulated pressure should be set someplace between 15 and 50 psi with normal operating pressure at 30 psi. Now there are some pressure sources that it says are alright to use that are unregulated that are up in the 70 psi and 80 psi ranges when new, so I'm undecided as the airbrush will only be attached and under pressure while I'm using it. The compressor has a cute 2 gallon tank so if I get a regulator that provides 30-35 psi, then the 2 gallons at 70-100 psi should give me lots of painting time.


It'll take some practice before I can start airbrushing designs on things, but as a vehicle basecoat painter, it's amazing. I'll have to try it on my crisis suits too.

Sorry the picture is a stock instead of an actual of my brush, but eh.
Image pulled off the Badger website, used without permission.
And woo, finally figured out there was a built in image uploader thing for images >.>

2010-03-08

Crisis Suits Painted

Photobucket
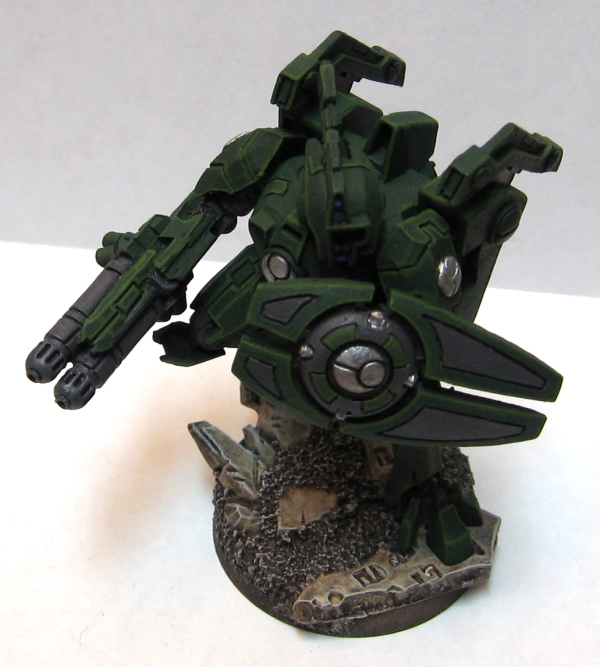
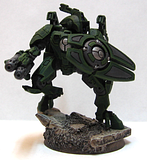
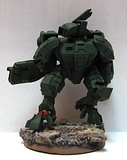
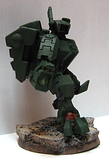
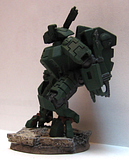
First XV8 suit from the paint shop is the infamous R'myr pattern which became popular after the success of the T'ros campaign. This suit is painted in the scheme of Larron's Uash'O hailing from the forest moon Da'ya, and has yet to earn any distinguishing decorations.

PhotobucketPhotobucketPhotobucketPhotobucket

Incidentally, the R'myr suit and the 'standard' XV8 below are not glued to their bases yet. The R'myr suit stands on it's base without support (proving that the models can balance! O.o twas an accident, but neat anyway). The R'myr above is a completely stock model. I'm tempted to add a big knife to it to truly tie it into the rest of my suits. Below is the other suit I'm working on. It has most of it's basecoat done painting wise. It's built with the right hand, shoulder pads and head of an XV84. I believe the legs are for a XV89 as they have kneepads, but I'm not positive. The left arm is a vanilla suit arm with a chaos terminator's fingers glued in. (A nod to Old Shatter Hands for the idea!) The large knife on this model's left jump engine is originally from a friend's Khorne Berzerker sprue, I filed down the face-like decoration and added it as I thought it looked neat as a representative of their bonding knife, the painted on ones just felt like a cop-out. I'm planning all my suits to have one, even though only the leader can take the upgrade. I haven't decided how to mount one to the right side as half my suits will have left handed gun arms, meaning the right arm is going to have the fingers.

PhotobucketPhotobucketPhotobucket

Anyway, enjoy. Hopefully I'll have more progress on the Firewarrior torso soon.

2010-03-02

Fire Warriors Painted

Photobucket
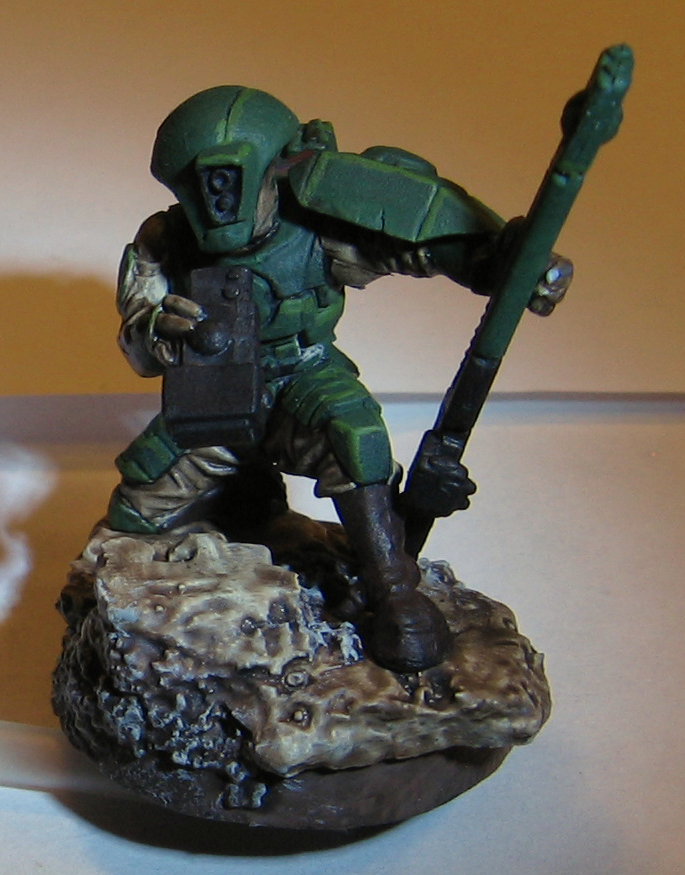
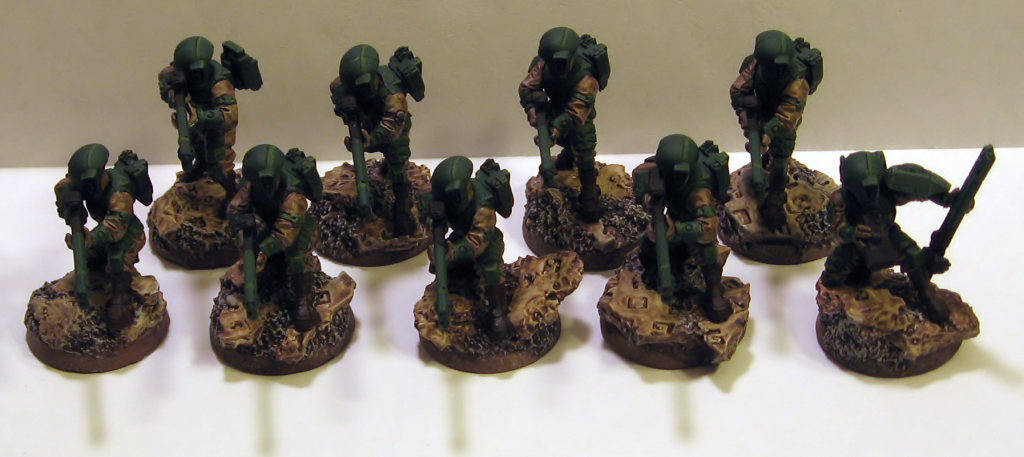
Woo, a squad of 9 done! I like how the bases came out, I kinda grabbed colors at random... The stone tablet parts were painted 'Mushroom Champignon' by Anita's Craft Paint, while the rocky filler was painted 'Mississippi Mud' by DecoArt. The whole thing was given a wash of 'Devlan Mud' by Citadel. And lastly they were given a drybrush of 'Quaker Grey' by Ceramcoat. They were delayed to completion as I had to make molds of the bases and make casts of them before I could base them. (Ok, so I didn't have to, but I didn't want to make every single individual base.)

Anyway, here's the group of them standing in a firing line.
Photobucket
They were a selection in my first armylist, however I don't think they're the right size in my current armylist, though I haven't looked at it in so long it'll probably be revised again anyway.